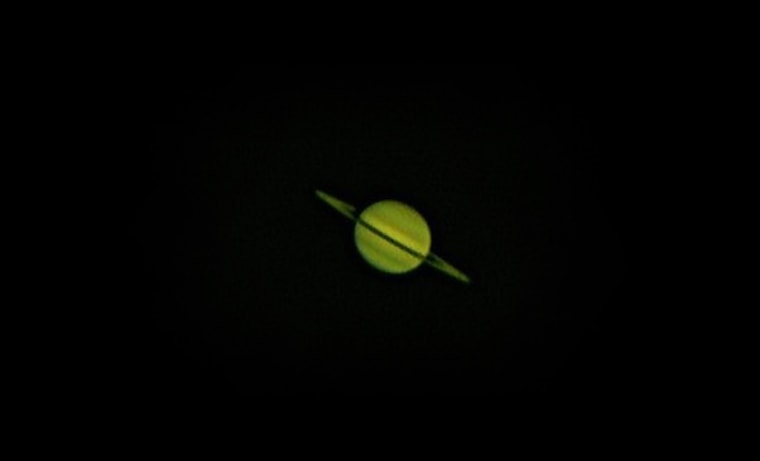
In my previous article about astronomical photography, we looked at ways you can simply capture images of the night sky with a camera on a tripod pointing at the sky.
Some incredible photographs can be taken using this simple technique and there is lots of scope for experimentation. But if you have ever tried capturing the moon in your nighttime pictures, you might end up disappointed.
It's difficult to get high-quality, close-up pictures of the moon or any planet with basic photographic equipment, although owners of good telephoto/zoom lenses (around 250mm and above) can get moderately close.
However, the advent of high quality and high resolution chips in modern digital SLR cameras means a bit of work in software — such as Photoshop — will allow you to enlarge the moon, but using basic photographic equipment won't allow you to get up-close and personal with the planets. To make this happen, the easiest (and most fun) approach is to use a modest astronomical telescope and a webcam!
ANALYSIS: The Secret to Mastering Astrophotography: Experiment
For this, any webcam will be suitable but it must have a removable lens such as the Philips Toucam 840 Pro. This will allow you to unscrew the lens and replace it with a special adaptor to enable it to be plugged into the eyepiece holder of a telescope. The telescope will therefore act like a very big zoom lens.
For general use, any telescope will do, but one with a drive attached that can follow objects across the sky will be best. If you don't have a drive on your telescope, it's still possible do use a webcam, but it means you will be capturing data for a shorter period of time.
The technique is to first line up the telescope on the object you want to capture in a moderately high-powered eyepiece. Once it's centered in the field of view, take the eyepiece out and put the webcam in (you can get larger image scale by placing a Barlow lens between the webcam and telescope, which will give twice or three times bigger image).
OPINION: NASA Uses Photoshop! It's a Conspiracy!
Assuming you have connected the webcam to a computer and fired up the control software, you should see an image, perhaps an out-of-focus one, but an image all the same. Very slowly and carefully bring the object into focus and record a video of the object. The longer the better, but try not to record for any longer than 30 seconds of footage — any longer, and it will take you an age to process.
If you watch the video as its being captured, you might notice that sometimes the view is nice and sharp and other times a little blurred. That's because the atmosphere can knock the light around as it comes in through the atmosphere. The beauty is that the video is made up of hundreds of individual pictures so using a piece of software called Registax ( which is free to use here ) you can discard all the bad frames and use the good ones.
OPINION: Advancing the Frontiers of Amateur Astronomy
Registax is a great tool and will do most of the work for you — in essence it takes all the good frames, lines them all up to account for slight movement of the object from either atmospheric or mechanical effects, and takes an average of all the images, resulting in a much sharper final image.
You can get as involved as you like in this process or leave it to do it all automatically. Depending on how long your original video was and on the power of your computer, the processing can take several minutes — possibly as long as 30 minutes — so sit back and watch as your image is revealed.
