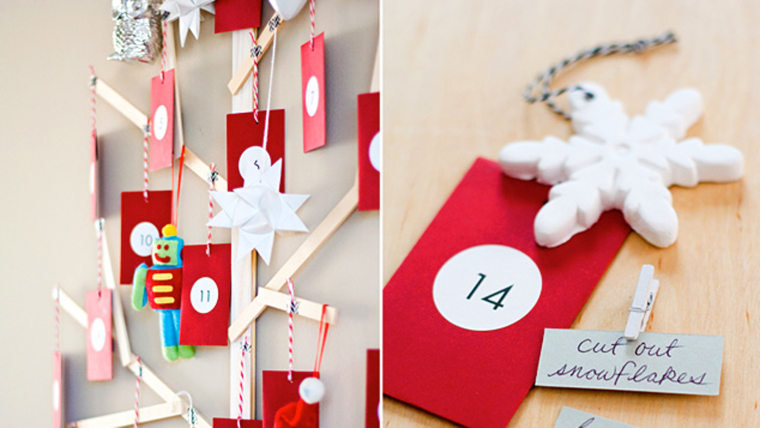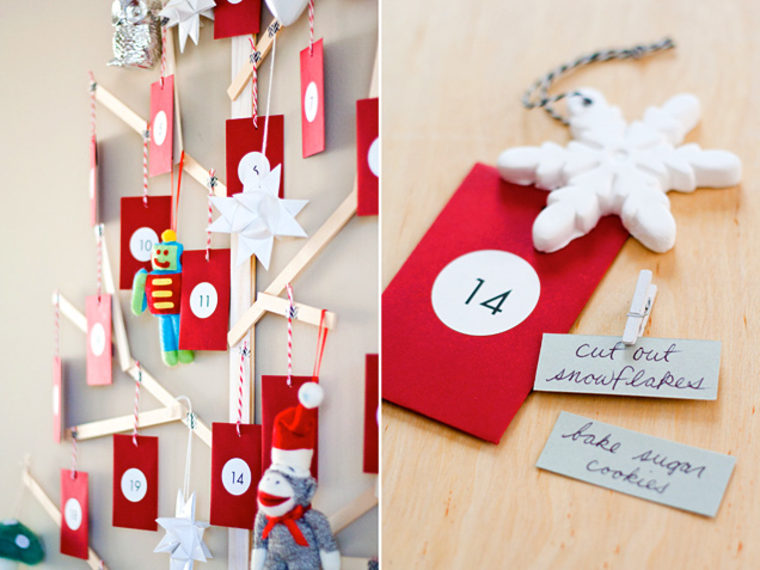
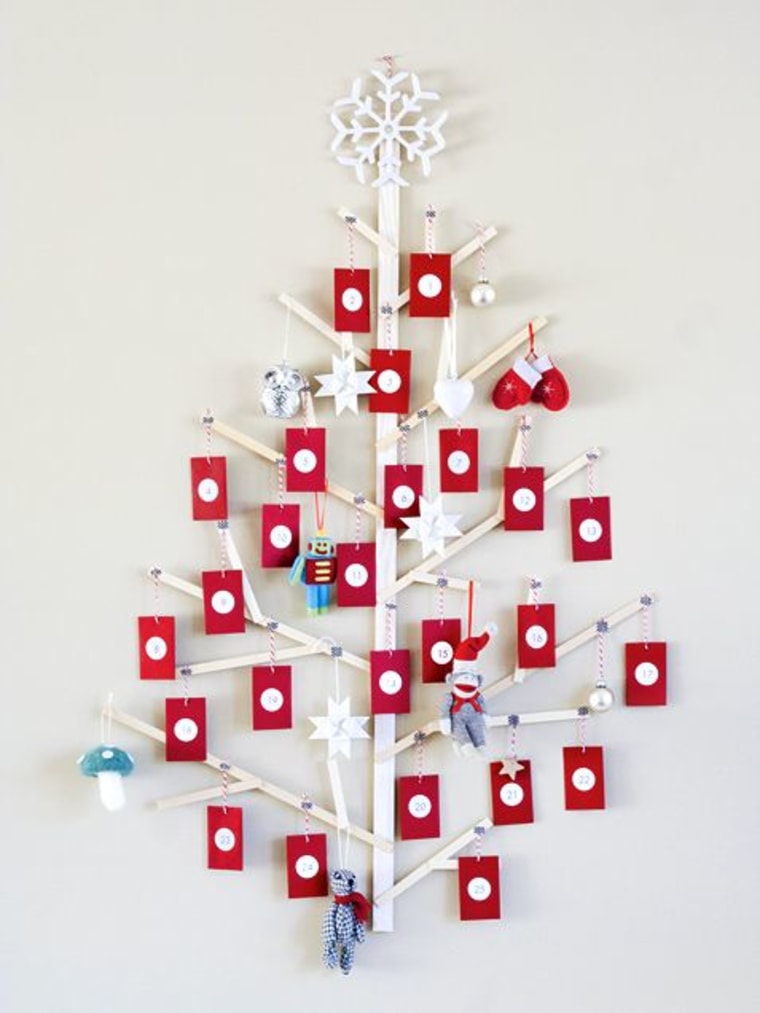
Those dollar advent calendars with pieces of chocolate inside are more typical of what parents do for kids (and a great idea at that), but why not put together something a little more interactive this year with this tree calendar from blogger Jennifer Kirk? Tucked inside each envelope are activities ranging from baking holiday treats to sparing some time to help others. Constructed out of basswood sticks, the tree makes for a blank canvas ready to be dressed up in a fun holiday color palette. The advent calendar can even double as an alternative Christmas tree if space is an issue, since it hangs flat against a wall.
What you'll need:
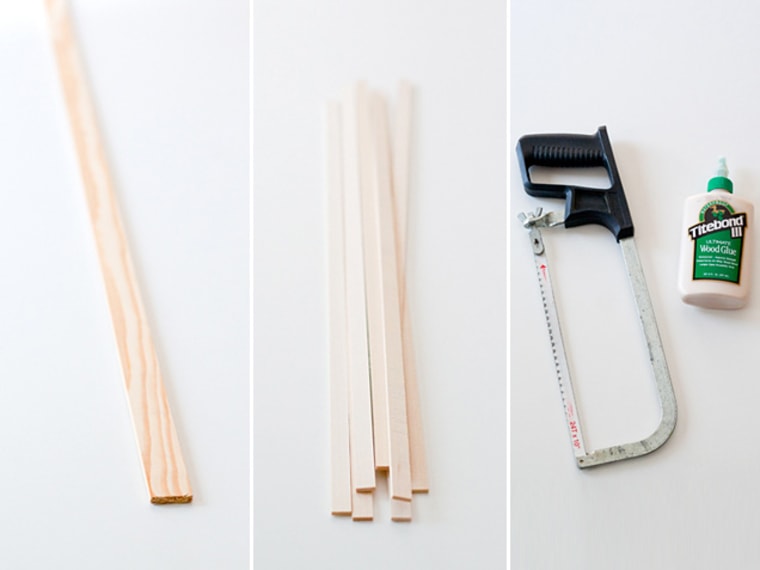
- (8) 1/8-inch x 1/2-inch x 24-inches basswood sticks
- (1) 1 1/8-inches wide x at least 46-inches long x 1/8-inch thick wood stick (found in fencing/post section of a home improvement store)
- Wood glue (such as Titebond III Ultimate Wood Glue)
- White acrylic paint and foam brush
- Baby envelopes from Paper Source or other stationary store
- Baker's twine
- Washi tape
- Hole punch
- Round labels
Step 1:
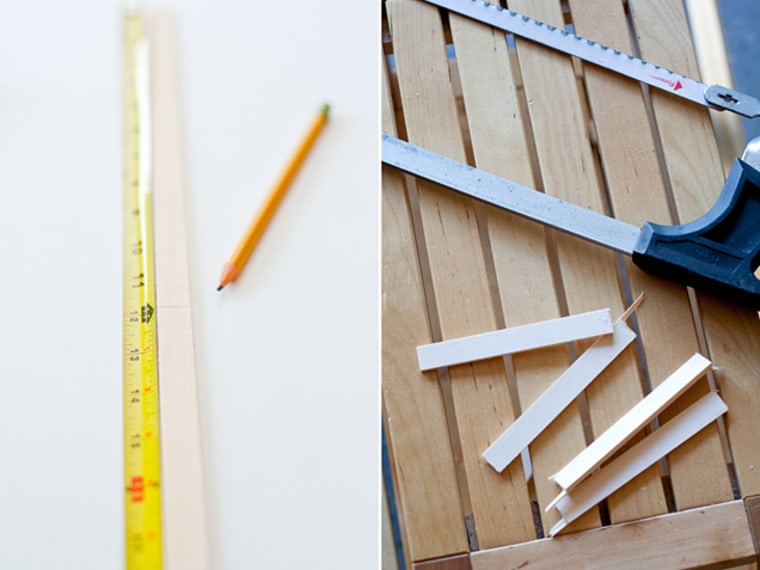
Saw down basswood sticks to desired length. These will be your branches. Saw down the larger, 1 1/8-inch wood stick so it is 46 inches long. This will form the trunk of the tree.
Step 2:
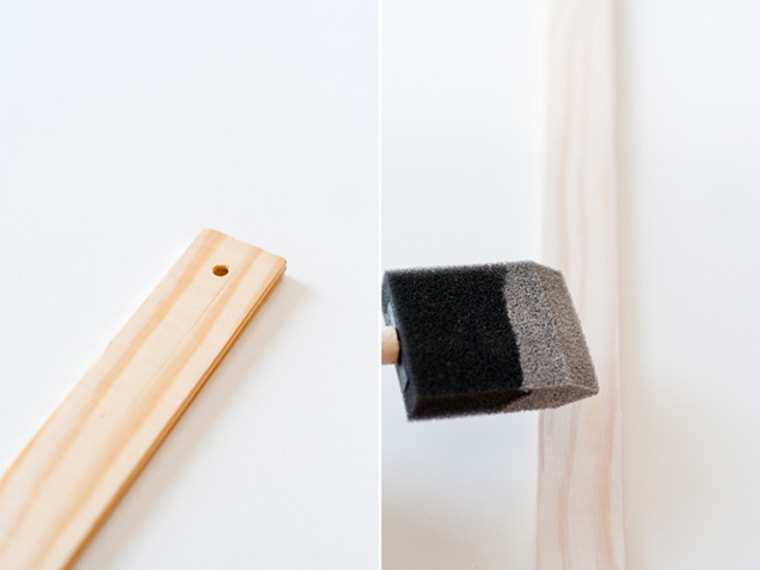
Drill a small hole near the top of the trunk stick and thread with twine, forming a loop for hanging. (Optional: Jennifer gave her trunk a quick whitewash of watered-down acrylic paint so that it would match her basswood sticks.)
Step 3:
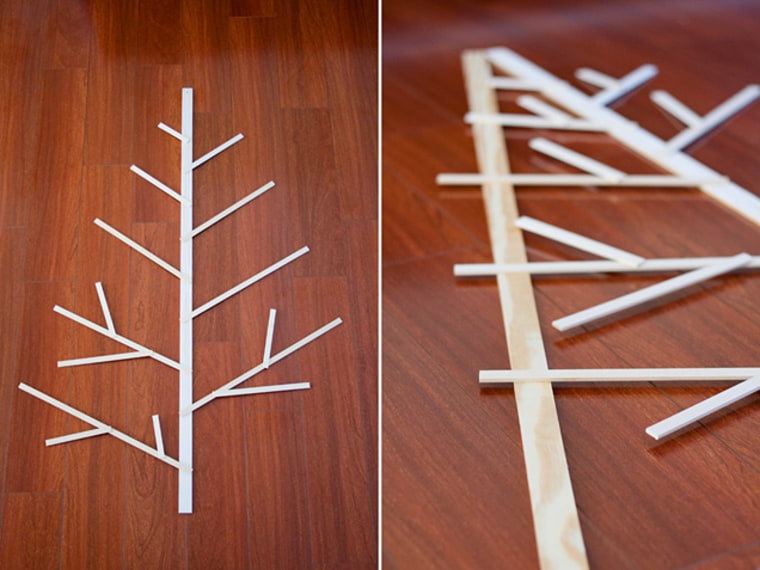
Lay the largest stick down on your work area so that it is oriented perpendicular to you. Starting at the bottom, arrange the basswood sticks in a branch pattern, using smaller sticks as you get closer to the top of the "tree." You can follow the plans or just freehand it!
When you're happy with your arrangement, apply wood glue to form the branches. Press each glued joint down for a few seconds and prop up the ends of the branches onto scrap pieces of wood sticks as it dries (to keep the twigs or smaller branches from falling off the main branch while drying).
Step 4:
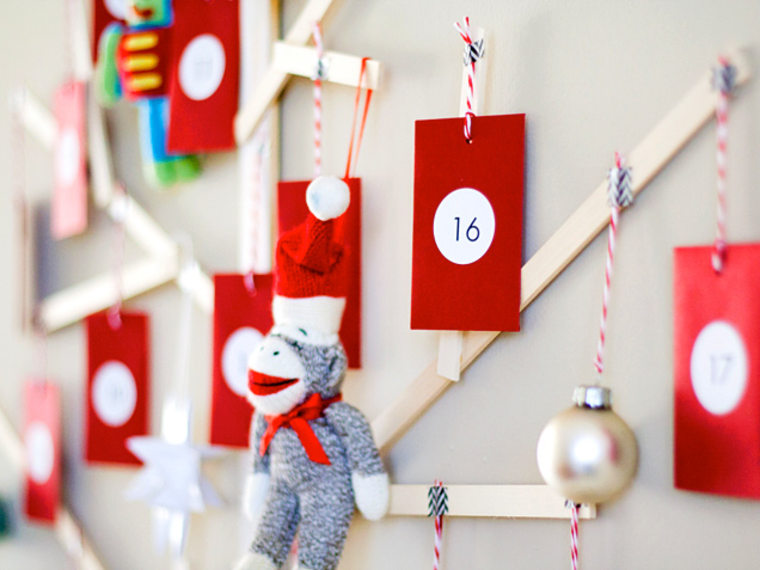
While waiting for the glue to dry (45 minutes or longer for a strong bond), number the round labels from one to 25 and stick onto face of envelopes. Write out fun holiday and winter-themed activities onto small scraps of paper and fill each envelope with an activity, small treat or both! Hole punch the top of the envelopes and thread with a loop of baker's twine.
Hang the tree against a wall. Stabilize the tree by using a piece of double-sided tape on the backside of the bottom part of the trunk. Using washi tape, hang envelopes onto tree branches and add in some lightweight ornaments.
You're done!
A version of this article originally appeared on iVillage.
