Editor's Note: Mason jar salads practically inspired the whole #MealPrepMonday trend. There's no better — or more eye-catching way — to put leftovers and veggies in the fridge to good use. Making a batch on a Sunday evening saves time and money and almost guarantees that you'll get at least one healthy meal in every day. That whole five servings of fruits and veggies thing? Mason jars were made to make that happen. The downside? After a few hours, watery veggies and salad dressing mix to create a mess of mushy, wilted greens. Bec Dickinson, author of Love Your Lunches, saves the day with this eight-step plan that'll keep your jarred salads fresh until you're ready to eat them.

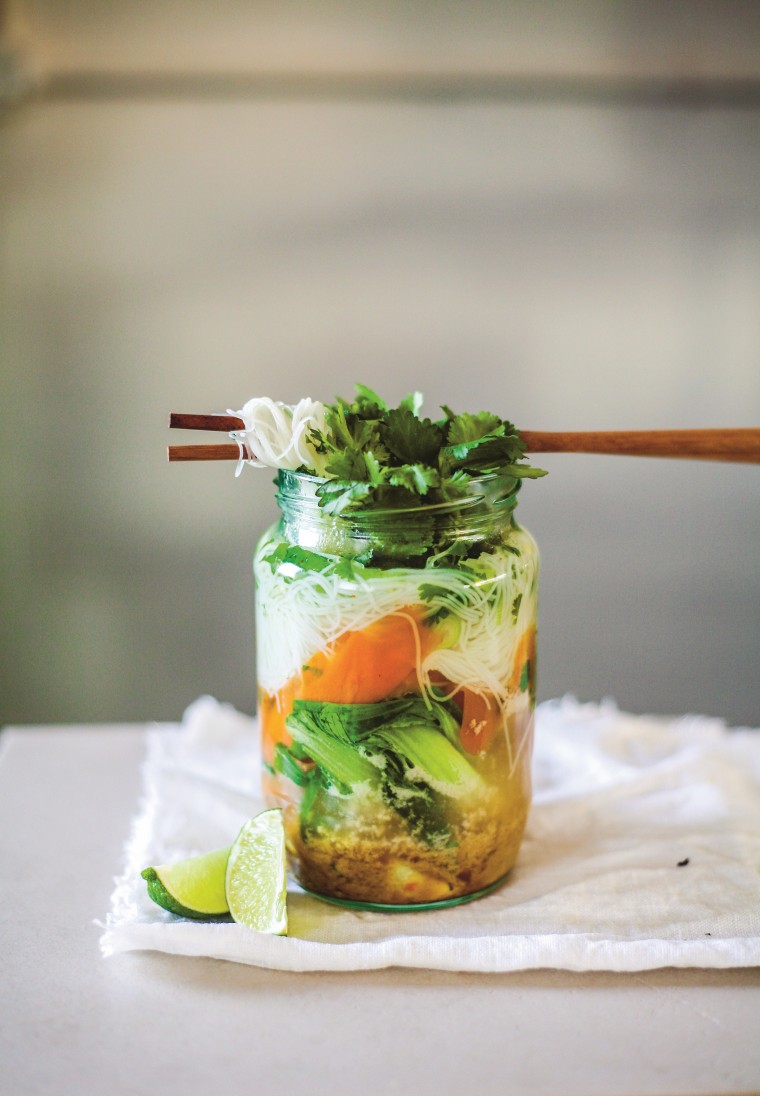
Not only is this way of presenting your lunch easy on the eye, the practicality of the packaging verges on genius. Bring your salad to work without the dread of a soggy mess. Most meals can last up to a working week in the fridge. Simply tip the contents of your jar into a bowl and lunch is there, ready to go.
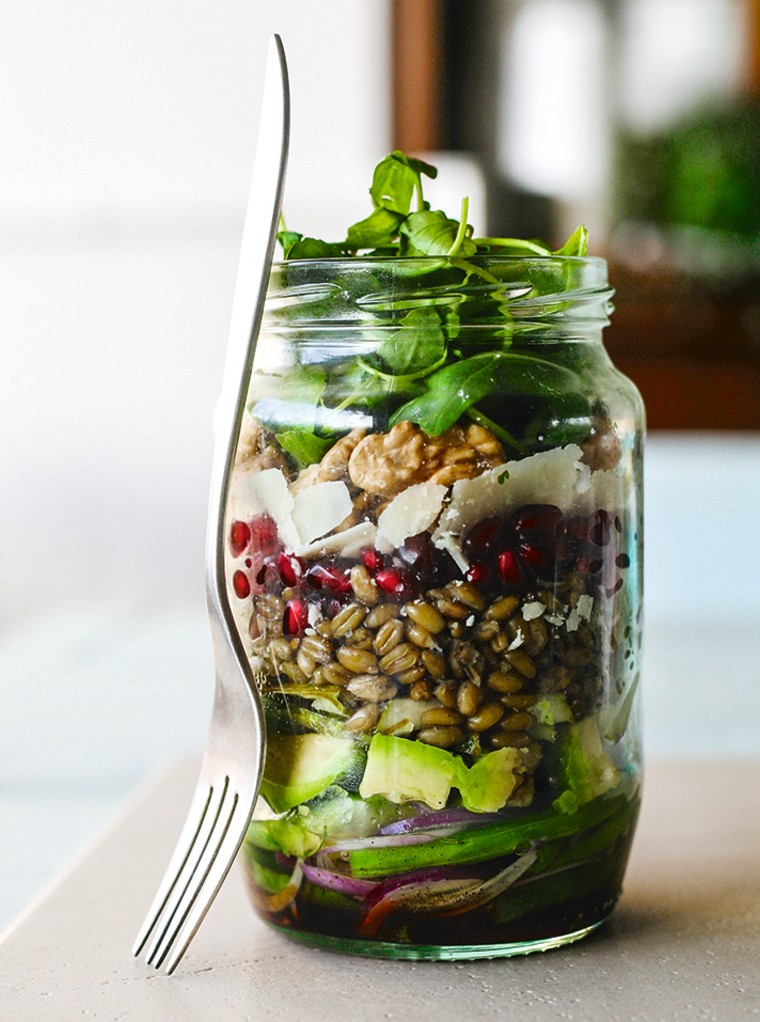
Successfully creating an ‘all-in-one’ lunch jar comes down to the simple art of layering. Once you have the method figured out, you can go to town with your own personalized meal.

TYPE OF JAR
Use a 1 liter (34 fl oz) jar per serving or a 500 ml (17 fl oz) jar if having as a side. They need to be wide-mouthed with tight-fitting lids (preserving jars work best) — the tighter the seal, the longer your greens stay crisp.
Most meals can last up to a working week in the fridge.
HOW TO ASSEMBLE
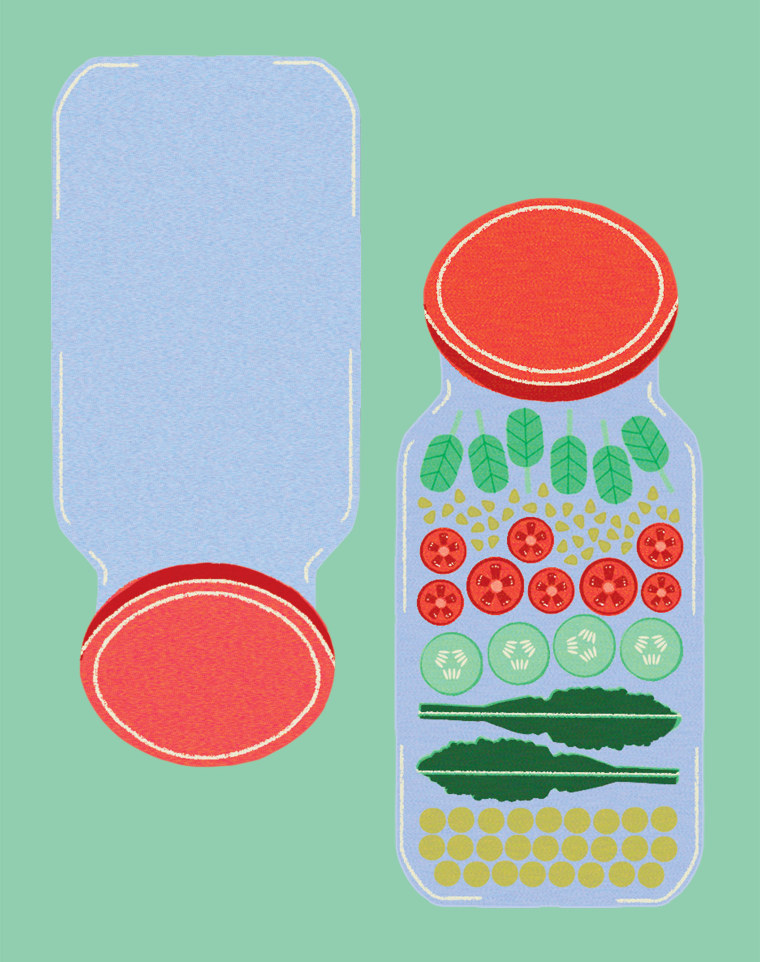
The key rules to transporting any lunch jar is to place wet ingredients at the bottom and ingredients that need to stay dry at the top.
- Always start with dressings at the base, using however much you like.
- Next, top with non-absorbent hard vegetables such as carrot, cucumber, chickpeas (garbanzo beans), onion, beetroot (beets) and (bell) peppers. This is a barrier layer that will help make sure your greens won’t go soggy.
- As an extra layer of protection, top with softer vegetables or fruit, such as tomatoes, avocado (with a squeeze of lemon to keep it green), mushrooms and strawberries.
- Now top with grains or pasta — this can be anything from quinoa to buckwheat, bulgur wheat, pasta or noodles.
- Next add the protein, such as egg, chicken, tuna, meat, or cheeses like feta and Parmesan. Meats should be added on the day of eating if you’re making the salad ahead of time.
- Crunch time. Literally. Seeds, nuts and dried fruit are sprinkled on top.
- The crisp, leafy greens are last to go on, perhaps even with a generous serving of herbs.
- Seal tightly and store in the fridge until ready to eat.

Excerpted with permission from Love Your Lunches by Bec Dickinson, published by Hardie Grant Books April 2017.
MORE RECIPE IDEAS
- This roasted cauliflower will be your new favorite side
- 13 healthier Mexican recipes to try tonight
- Healthy instant pot recipes you make in minutes
- 12 French fry recipes that are actually good for you
Want more tips like these? NBC News BETTER is obsessed with finding easier, healthier and smarter ways to live. Sign up for our newsletter and follow us on Facebook, Twitter and Instagram.
